Bottled the mead today! I ended up with around 3 gal of mead, (and a sticky floor). About 2 cases of Grolsh style bottles plus a couple of recycled flip top wine bottles. It has a beautiful pale honey color with a heady floral aroma. Its hard to wait to taste it.
To bottle you will need:
2-3 cases Grolsh style bottles- sterilized
6 ft plastic tubing
a five gallon bucket with a spigot at the bottom -the priming bucket
1/4 cup priming sugar boiled in 1 cup non-chlorinated water for 5 min.
a bottling wand
Sterilize all your equipment. (Refer to Mead and a Story About Urban Foraging for directions on how to sterilize and the first steps in making mead.)
Let the sugar mixture cool to room temperature. Add to the sterilized priming bucket. Make sure the spigot is closed. Siphon the mead into the priming bucket and give it a little swirl to mix. At this point, the mead is alcoholic but not carbonated. The priming sugar will ferment in time and carbonate the mead. You can skip the priming sugar if you like, but I think it adds a nice sparkle and cuts some of the cloying sweetness that can come with mead.
Set the priming bucket up on a counter. Attach the bottling wand to the tubing and the tubing to the spigot. Set your bottles on the floor. I like to lay down a couple of towels first. It can get messy. You'll have onion peels sticking to your floor for weeks if you're not careful. Open the spigot. The mead will begin to fill the tube. Insert the bottling wand into a bottle. Touch the tip of the wand to the bottom of the bottle. A small piece of plastic inside the wand will move away and release the mead. Ingenious little contraption. When the mead fills the bottle all the way to the top, remove the wand. This should give it enough head room for fermenting. Repeat with the remaining bottles. Snap all the bottles shut. LABEL IT with the date and content. I have had many an evening staring at bottles in the cellar trying to remember what was what.
Move the bottles to a cool but not freezing location. The bottom of a hall closet, a basement, or a cellar would work. Don't put it directly on a cold cement floor and don't put it in a garage that freezes or the temperature fluctuates in. Too cold and it won't ferment. Don't put it on the top shelf of your coat closet. Too hot and it could explode alcoholic honey and glass all over your wool coat and moon boots. I shoot for around 62 degrees.
Now for the hard part. You need to wait. A good 3 months, but 5 months would be better. I suggest you open a bottle after 3 months and taste it. Then open one in 5 months. Then 7. See what you think. The flavor will change as time goes on. Hide a couple bottles from yourself. You don't want one of those regretful nights where you run out of beer and your stash of too young mead proves too tempting.
The anticipation is part of the fun. Enjoy it.
Mead is usually relegated to Renaissance festivals and Victorian sagas about faeries. Does it have a place as a modern libation or is it just a novelty for D&D players and crazy people like me who feel the need to ferment everything?
I am, by no means, a timid person.I have no problem talking to anyone, no matter what they are wearing.I am the resident tick remover.I have peed in a parking lot.I have walked through downtown St Paul fully decked out in frontier garb carrying a chicken.But, what most people don’t know is that being outgoing is a learned trait for me.I was never the kid who wanted to be picked to be an example.I sat quietly in class, hoping not to be called on. I hid my shyness in high school behind plaid shirts and grunge music and only let in a select few confidants. I fancied myself a misunderstood youth, casting a perimeter of mystery toward my peers.But, in reality, I was just shy.
Most people prefer safety in numbers.Learning something along with a peer gives you the opportunity to laugh at your mistakes.But the idea of others watching me fail used to terrify me.It felt fine to fail in private.Brave even.But to try and fail in public was like exposing to the world my rattiest pair of panties.So I learned to self educate.I made up an entire lesson plan for learning to bake.I read countless magazine articles.I bought a ‘teach yourself to grow mushrooms’ DVD by the most celebrated mycologist in the country / bearded hippy.I watched online tutorials about making cheese taught by women who probably smelled a lot like the Roquefort they were making. While many of my attempts succeeded, a failure was something I could share at my own discretion.A party trick or a story I could tell at dinners.
But eventually, the inevitable happened.I grew interested in something I couldn’t teach myself.The first thing was pottery.I read a dozen books about throwing a bowl on a wheel, but nothing I did worked. This had truly never happened to me before.I became frustrated and pushed the potter’s wheel into the back corner of the basement, to collect dust and be a creepy shape to torment me from the shadows every time I went down to do laundry.I intended to go back to it again one day, but in reality, I gave up.Until we moved to a smaller house and I had to down size.I needed to make a decision.Keep the huge iron source of my disdain, or get rid of it.In my mind, that meant putting the idea of being a master potter out of my head forever.I kept it.It was time to face my fears.I would need to take a class.
So I did.The first pot I completed didn’t turn out.It looked like a hollowed out celadon colored cow pie.But, to my surprise, no one in the class cast me shameful looks.No one cried out, “Dear God!What is that Thing!”And I….…laughed.Then, I tried again.After that first course, I felt like nothing was unapproachable.I followed with another ceramics class.Then silver smithing.And now, Oxy-acetylene welding.
But the hour before the first day of class, my old friend Fear began to seep in through the drafty windows in my dining room.Maybe it was the prospect of branding a 6,000 degree torch. Maybe, it was the fear of accidentally starting a chain reaction resulting in a fiery explosion that would bring a molten metal wrath down on the whole of South Minneapolis.This time though, there was no out.I had told everyone I know that I was going to take a welding class.So, I went, and once I was there, fell in love with the possibilities that unfolded before me.
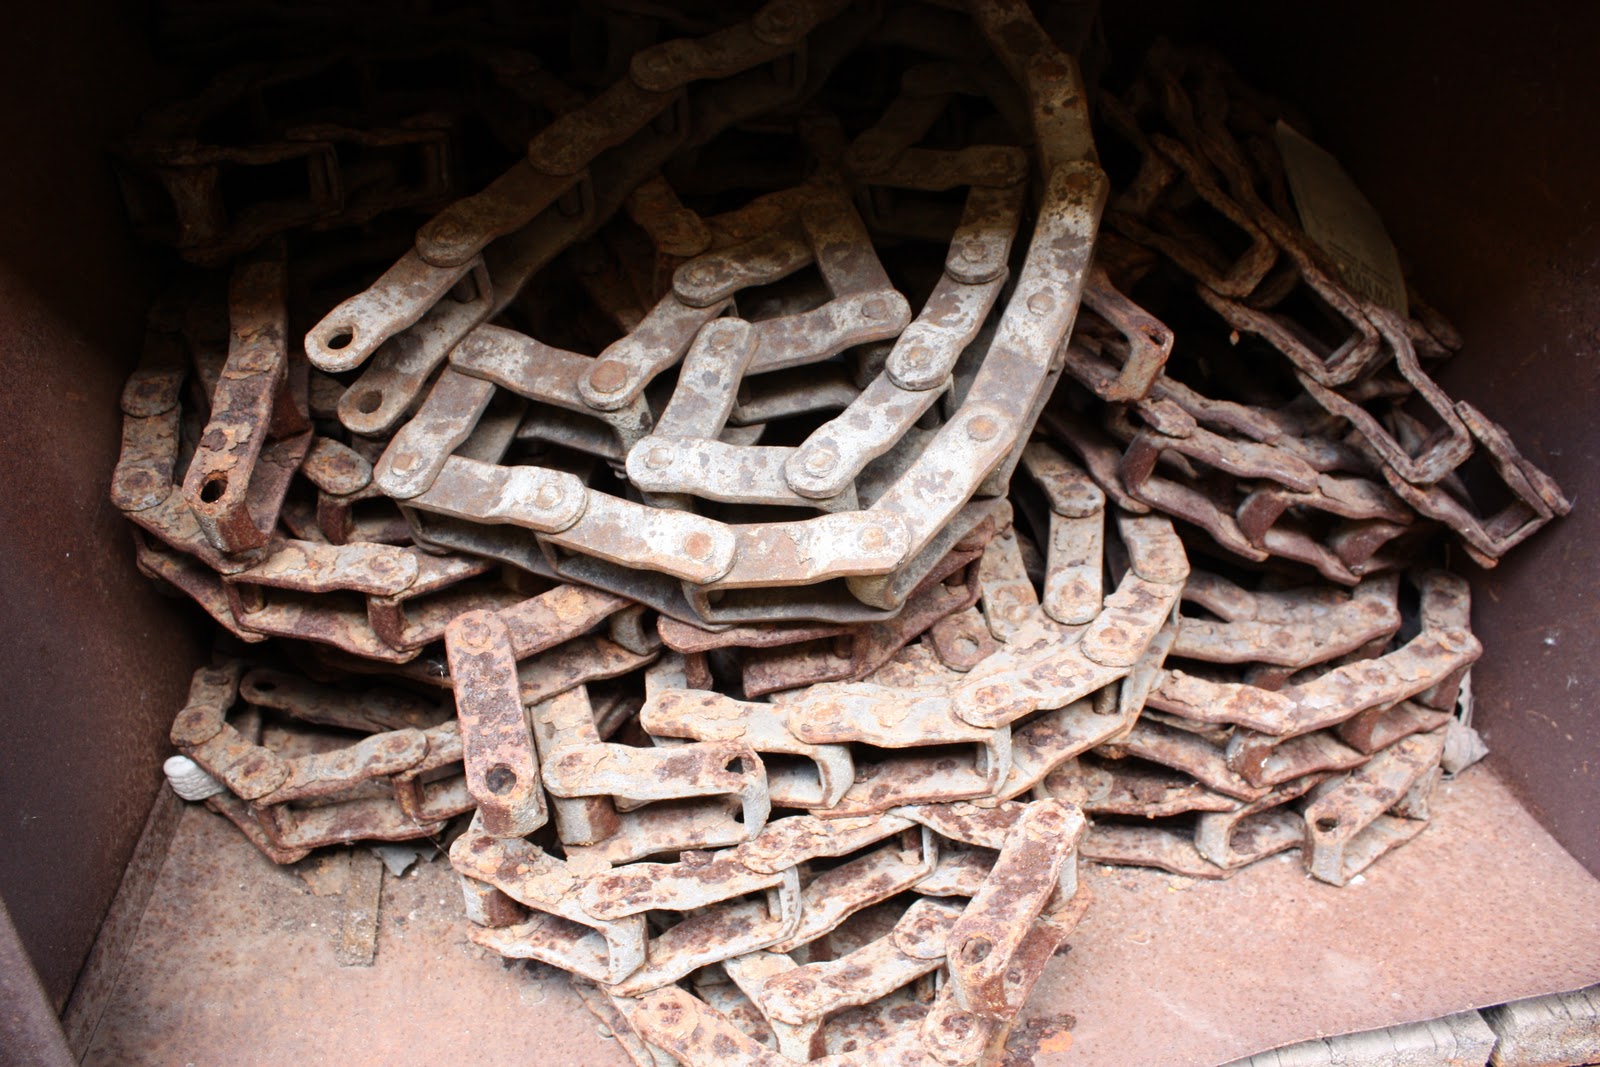
This week, I joined my first pieces of metal.Then, we took a field trip to the scrap yard.I spent two hours uncovering rusted cogs and climbing over old radiators.I proudly branded my trusty magnet, using it to check treasures for enough iron to be welded.Every corner I turned held a new source of inspiration, decked out with patina and grease residue.I toted home some iron clips, a beautiful gear, the handle to an old spigot, a long rusty doohickey with a hook at the end, and some teal colored machine part that the owner didn’t remember but quickly decided would cost ten bucks.It is like every impractical contraption I’ve ever imagined has become possible.
I still keep the celadon poo pot in my bedroom as a reminder of fear overcome.I’d love to tell you all that I am as fearless as the title of my blog suggests, but fear still tries to thwart me sometimes.But, once overcome, fear has also propelled me to many new opportunities.
Urban foraging seems like something only crazy people do. Because of my interest in urban farming and sustainable gardening, I’ve read a number of books with titles like, “Lawn’s are for Satan”, or “Live on a chicken, some worms, and a Five Gallon Bucket” or “Apocalypse what now?” Many of them have a chapter on urban foraging. Most of them have a final chapter about how technology is going to collapse and the world will be taken over by immorality, human-machine hybrids, or maybe China. We’ll all be forced to regress back to the lives of our primitive ancestors. I glean all the interesting projects from these books and then sit back and smile at the rest.
For those of you who are unfamiliar with the term Urban Foraging, it’s a practice in which you wonder around your neighborhood or city and look for edibles that grow wild, are going to waste in vacant lots, or even pick fruit from a neglected tree in a neighbor’s yard. Really, it’s not a bad idea, but I’ve heard terrible stories about the lines being blurred. Being ballsy enough to walk into someone’s yard and ask for some tomatoes is one thing. Just taking them because they’re growing within reach is another. I know that isn’t the urban forager’s credo, but I’m just saying. It happens.
But, when my neighbor’s grapes started to grow what looked like it would be a bumper crop of amazing grapes, I started to wonder. His garden is really quite incredible and by no means neglected. (It was on the garden tour this year.) I had no right to covet them. Still, every time I drove through the ally I saw those grapes get plumper and the bees dance and buzz around them patting them with their little wings like they were gently coaxing the sweetness into them.
So when the time came to harvest them and I got an email from him saying, “Come pick whatever you want,” I was delighted. Urban foraging didn’t seem so crazy after all. I grabbed my largest bowl, a galvanized bucket and a sharp knife. I climbed up the retaining wall and started cutting. I stopped to take a few pictures as I went. When he drove up behind me on his bike and said, “Stop photographing and pick!” I jumped. My guilt over lusting after them all summer made it feel like I was doing something wrong. Even with his unsolicited permission to harvest. After my vessels tumbled over with grapes I hopped down and brought them home. Now, what to do with them….
I’ve never been a big fan of Minnesota wines. There. I said it. They just don’t stand up. But, we do so many other things well. Like mead.
Brewing really isn’t difficult. You just need to remember a few key rules. Keep everything clean AND sterilized. And, pay attention to the thermometer. To get started with brewing mead, or beer and wine for that matter, you will need to take a trip to the brew shop. Most major cities have one. Or, you can order online. I like to use www.midwestsupplies.com . (Formerly Midwest Brewer)
You will need:
2 brewing vessels or fermenters- glass carboys are great, but 5 gal buckets with a spigot and a lid will do
An air lock
A carboy bung (if your using a carboy)
A very large pot
A good thermometer
A long stainless steal or plastic spoon- don’t use wood
Powdered Sterilizer- this can be purchased at the brew shop. You can also use 1/4c bleach to 4 gal of water, but rinse well after sterilizing
A piece of 6 ft tubing
Bottles- I use Belgian style bottles with the flip tops, about 3 cases
and a bottling wand
Midwest supply sells all sorts of starter kits.
I followed a recipe I took from www.Gotmead.com. (Aren’t the interwebs amazing?) I adapted it some for what I had available. It really is a pyment and not a true mead. Pyments are meads fermented with grape or grape juice. I used local honey I traded from a farmer, but you can get large quantities of honey from the co-op or the brew shop.
Ingredients:
1 gal + 1 cup clover honey
5 gal bottles water- not tap (avoid any city water with chlorine)
12 lb grapes-I used white grapes
2 tsp yeast nutrient
Wyeast dry mead yeast
First thing, wash and rinse all your equipment well. Then soak in the sterilizer for 30 min. (Or follow the directions on the package). Keep some sterilizer handy for dipping spoons in between uses.
Dissolve the honey in 2-3 gallons of water in a large pot. Bring to a boil and skim any foam that rises.
Remove the grapes from the stem and wash. Sort out the bad ones. Only perfect grapes will do for your mead. Crush them with your (clean) hands. This can be done in an unsterilized bowl, but why risk it? Give the bowl a quick rinse in the sterilizer before you use it anyway.
When the honey-water mixture is hot, add yeast nutrient and grapes, and stir well.
Bring the temperature to 160 degrees F. Hold at 160F for 30 min.
Remove from heat and let cool some. Poor into the fermentor, grapes and all. Top with the remaining water until the volume reaches 5 to 5 ½ gal. Let cool to 80F. (You can speed this process up some by adding a bag purchased ice to the pot before pouring it into the fermentor. )
Pitch in the yeast. (Follow the directions on the packet). Top with the carboy bung and the airlock with a bit of water in it.
Store in an out of the way place at about 60-70 degrees. I use my kitchen floor or in an unused shower. Do not put it directly on a cement basement floor. It will get too cold. Wait 2 weeks.
After a couple of days, the mixture will begin to ferment. The airlock will bubble and release gasses. My husband loves this part. The gurgling sound coming from the kitchen always gives it a homey feel.
After 2 weeks, you’ll need to rack off the mead into a second (sterilized) container for a secondary fermentation. This will give the mead a clearer look and enrich the flavor some.
To rack off your mead: Sterilize the tube and the second fermenter. Move the full fermenter to a counter or higher position. Remove the carboy bung and the airlock. Set the empty fermentor on the floor in front of it. Put one end of the tube into the full fermenter. Kneel down on the floor next to the empty formenter. Suck on the end of the tube until the mead begins to flow. Then, quickly put the tube into the empty fermentor. Gravity will do the rest of the work. Try not to suck up too many grapes. At this stage you can taste a little of the mead as well. Remember that the flavor will change as it sits. I racked mine off today and it had a dry Riesling flavor. When the second fermenter is mostly full, remove the tube and put the carboy bung and airlock on the fermentor. Put the second fermenter back in its resting place and wait another 10 days. Pitch what was left in the first fermentor.
After 10 days it will be time for bottling. More on that in a future blog. (About 10 days from now.)